Following is a summary of making dinghy chaps for a 9' AB fiberglass bottom dinghy.
I needed to make patterns - and had read that using a plastic shower curtain would be a good idea. But I found these little pieces of plastic for just $2.50 each.

And they worked wonderfully! Very flexible. I just taped the plastic tight and labeled everything with different color Sharpie pens.
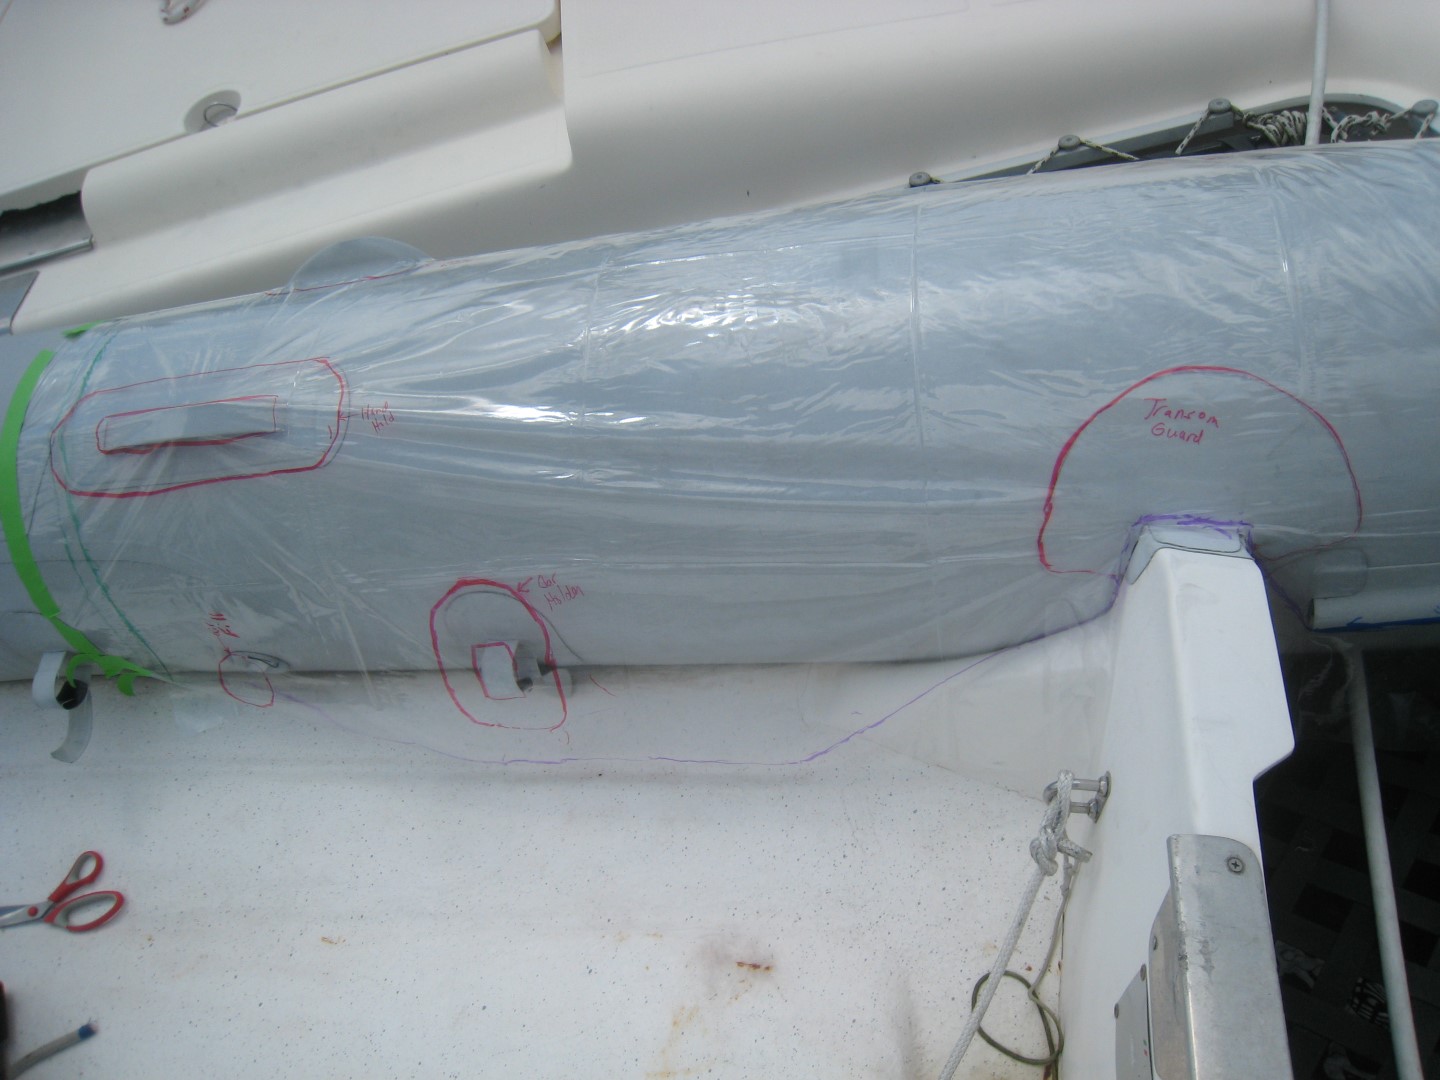
It was tedious, but I did one side all the way to the bow section. I didn't need to do both sides because they are pretty much identical. I'll just use the patterns upside down for the other side.

First, I thought I'd be able to cut the cloth on the marina docks....but it was windy. I couldn't get the patterns to stay in place.

So, I went to the clubhouse. Luckily, it wasn't very busy so I pretty much had the building to myself.
I just laid out all the pattern pieces - and gave extra room for each piece in case I needed to make adjustments. Unlike some folks I read about, I did not complicate the process by adding seam allowances. I know that I'm going to be taking 5/8" seams - so I just roughly cut that around each pattern piece.

I used a yellow fabric pencil to trace all the edges and cutouts. (Kinda hard to see).

First steps finished!

With all the pieces cut out, it's time to put them all together in a workmanlike manner. Doesn't have to be pretty, just needs to be sturdy!
I laid out the pieces down one side just to make sure my rough cuts were approximately correct.

Then I started at the bow sewing them together. I used a huge spool of UV resistant thread. It's really coarse and strong. And I don't know if you've ever sewn Sunbrella material - it is TOUGH. And none-to-flexible either! All seams are at least double stitched for durability. (I only want to do this once!)

Just pieced together, going back-and-forth between the cockpit and the tramp so many times I lost count. At least two trips for each seam to make sure it all aligned correctly! Did I mention it was 90+ degrees??


For those interested in "how things are made"....here is how I did that:
I just measured and made a patch a little larger than the D-ring, so that the ring could easily pass thru. I know, the stitching is not perfect....but I will tell you after hours of dealing with Sunbrella....perfect stitching was not going to happen, at least not by me!!

And then I measured and remeasured exactly where I wanted the hole to be and simply top-stitched it in place.

And moving on, the next item to be done was exposing the hand-holds. There are 6 of these and 2 similar tabs that hold a seat in place.

I used a similar technique to make the patches/reinforcements for each of these openings. First cut out the hole in the chaps at the appropriate spot and finish the edges to prevent fraying. Again, much measuring to assure the hole is in the exact right spot!!

Then I made the patches. First hem the interior hole.

Then turn right side out and press flat to hide the seam.

Then stitch all around to finish all the edges. Patches ready for application to the chaps.

Looks easy, doesn't it???

I just kept plugging away from the bow backwards. Note the round hole on the port (left) side. It's an air-fill port. It was accomplished in a similar manner to the D-ring.
Just more of the same moving aft.

Next day....I note that my fingers have pin-pricks from my little inadvertent encounters with the sharp things! Oh well, such is the price we pay.
Moving ever onward....I just keep working towards the stern of the boat. Next is more round openings for the tabs that hold the oars in place at the bottom of the chaps. Same construction as the other round holes, just a little larger opening.

And even more openings.....wow this is getting repetitious!

Next are a couple of "accent" pieces....just more patches but this time in the pretty blue/green Sunbrella material that matches our sailcovers. I did a "selfie" to show you the color of the patch-in-progress....

And here is that patch installed around the oar-lock. It's just a different color to add some "pizzazz" to the cover!

The port side mostly finished, I moved over to the starboard side....more of the same. Did I mention that the chaps are getting really heavy and hard to lug back-and-forth?

Finally piecing the last of the fabric.

Fast forward since I didn't think you needed to see all the same holes on the port side too!

Enough for the day....note the sun is setting! So, now I'm sunburned, tired, sore and pin-pricked. This is some kind of fun!!
Next in line was adding some reinforcements at the transom. So I sketched it on the fabric, then made a pattern with the plastic.

Then used some of the lovely green material to make the patches.

Installed!

The next part, I've been dreading....making the covering for the round stern ends of the pontoons...
Duane gave me great advice - just make it like a ball cap....here I'm making the pattern and placing darts to take up the slack and make it quasi-round.

I made this section out of something called Phifertex. It's basically a heavy-duty UV resistant plastic mesh.
It's bulky and I promise it is hard to sew daintily! (I used this because I had read that you need to allow water to "escape" at the stern - if you use fabric here it will trap water. I figure those-who-went-before-me know best!!)
Here's the "ball cap" ready to attach to the fabric.
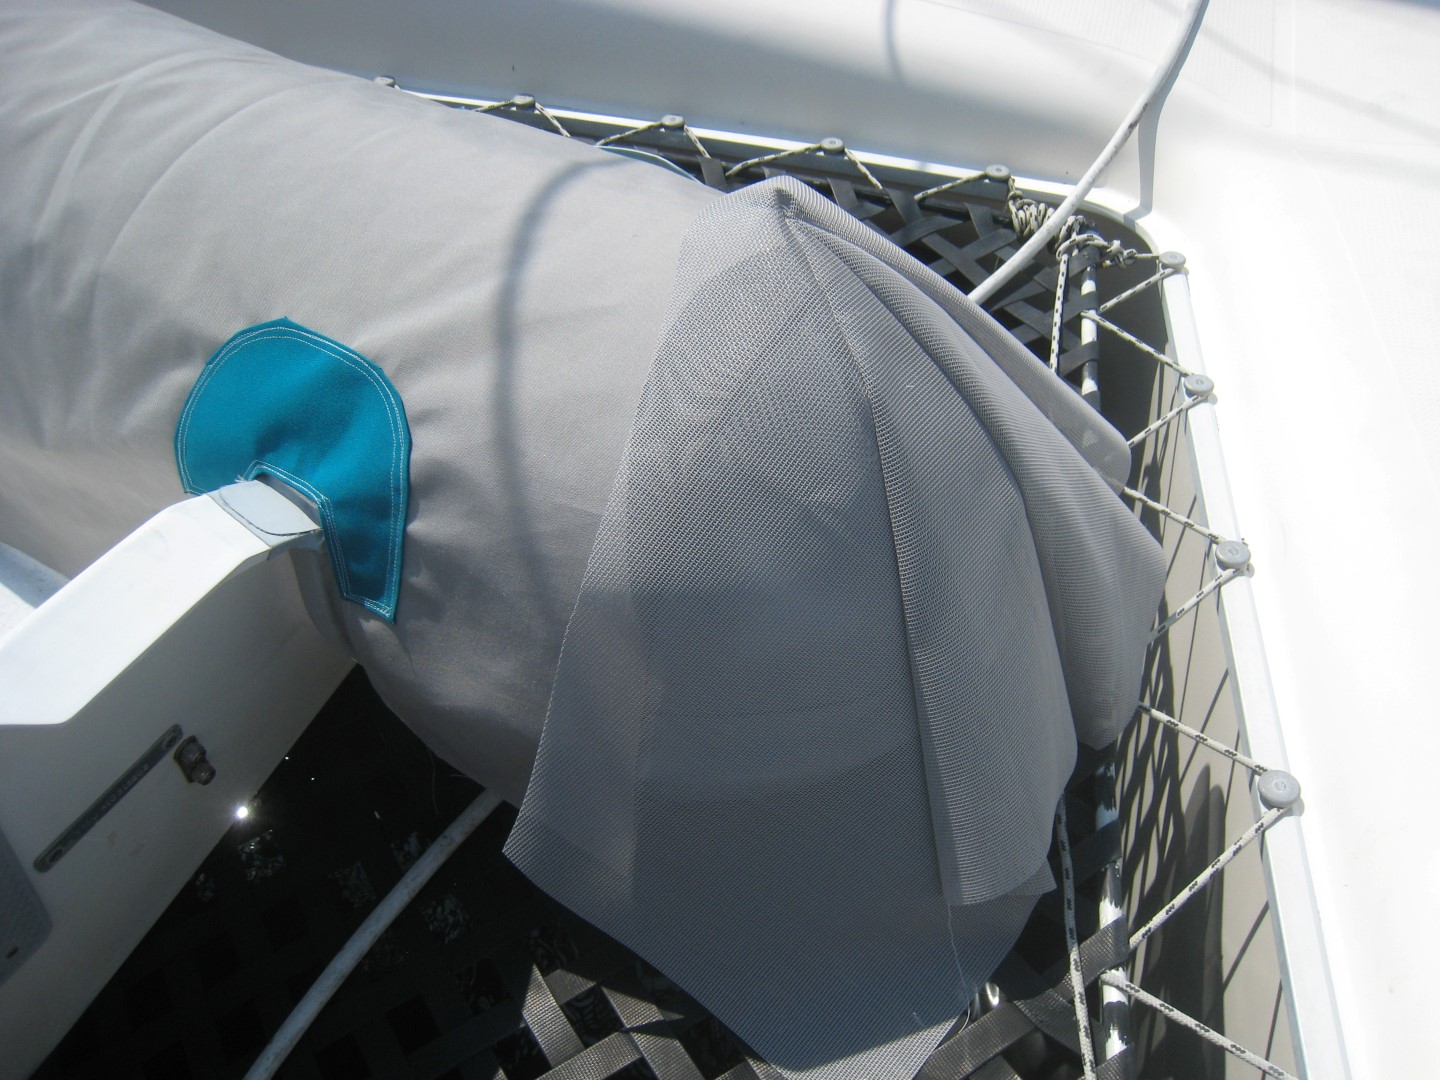
I'm pretty pleased with how the rounded end turned out!

Getting close now! Time to hem the inside border. Lots of pins. I didn't mention the pins earlier - I bought extra-long pins just for this project. It was a good thing!

Maybe a little hard to see - but here is the finished bottom seam - double stitched and finished inside to try to avoid fraying edges.

And this last hem I've been dreading too....the outside hem is also going to be the channel for the drawstring that will hold the cover in place. Theoretically, the drawstring will be tightened just below the protruding rub-rail which will hold it all tightly in place.,

All pinned up all the way around the dinghy at just the right height.,

I sewed the string inside the casing as I went around. A very good tip I read about - do it as you're making the casing as fishing it all the way around 30' of chaps would have been a nightmare!

The string had to have somewhere to tie - so Duane drilled and installed a nice little stainless steel grommet on the lower sides of the transom.

And one of the final touches was to sew on the registration numbers. I had ordered this from Boatnumberplate.com. It is actually meant to be glued directly to the dinghy. But it sewed on very nicely and won't fade with time. Note that the hard seat is re-installed on it's holders.

And there you have it! After only a minor amount of adjustment, the string tightened up the fabric pretty well!

And there you have it! It's all done!

Back on the davits!

All-in-all, I'm pretty pleased and VERY tired!
Here's a summary -
6 yards Sunbrella Cadet Grey
1 scrap Sunbrella Aquamarine
1 yard Phifertex grey mesh
1 big spool UV resistant thread
1 pack of extra long pins
1 yellow fabric marking pencil
3 packages clear plastic
Total cost - a little less than $200.
Time - around 25 hours.
(I'm not counting buying the new sewing machine since I needed that anyway!)